
If you’ve ever accidentally closed apps, clicked links, or moved windows just by brushing your laptop screen, you already know why some people want to disable touch input entirely. The problem? Windows 11 doesn’t provide a simple on/off switch for touch in the main Settings app.
- How touch control actually works in Windows 11
- Disable the touch screen using Device Manager (fastest method)
- Disable touch using PowerShell (single device)
- Disable touch when there are multiple touch devices
- Why does touch sometimes turn itself back on?
- Disabling touch on shared or kiosk devices
- Cleaning your screen without chaos
- Final takeaway
That doesn’t mean you’re stuck with it. You can still control touch reliably using Device Manager or PowerShell, and you can even automate the process if Windows keeps re-enabling it after updates or restarts.
This guide walks you through:

- The quick Device Manager method
- A reusable PowerShell approach
- What to do if touch keeps turning itself back on
How touch control actually works in Windows 11

In Windows 11, the touchscreen is treated like any other input device. It appears in Device Manager as one or more entries labeled “HID-compliant touch screen” under Human Interface Devices.
There is no global “Touch On/Off” toggle in Windows. Instead:
- If the HID touch device is enabled, touch works
- If it is disabled, touch stops completely
That’s why all reliable solutions focus on enabling or disabling this specific device — either manually or via script.
| Method | Where you use it | Best for | Needs admin rights |
|---|---|---|---|
| Device Manager | Desktop GUI | One-time change on a single PC | Yes |
| PowerShell (single device) | Elevated PowerShell | Repeatable toggle | Yes |
| PowerShell (multiple devices) | Scripts / remote tools | IT teams & automation |
Disable the touch screen using Device Manager (fastest method)
This works the same way on both Windows 10 and Windows 11 and is the simplest option for most users.
| Step | Action | What you should see |
|---|---|---|
| 1 | Right-click Start or press Windows + X | A quick-access menu appears |
| 2 | Select Device Manager | Device Manager window opens |
| 3 | Expand Human Interface Devices | A list of HID devices appears |
| 4 | Right-click HID-compliant touch screen | A context menu opens |
| 5 | Click Disable device, then confirm | Touch stops immediately |
If you ever want touch back, repeat the same steps but choose Enable device instead.
Note: Some laptops list more than one “HID-compliant touch screen.” If so, disable all of them.
Microsoft documents this exact process on its official support site.
Disable touch using PowerShell (single device)

If you prefer a reusable command — useful for power users or IT admins — PowerShell lets you toggle touch directly.
Step-by-step
| Step | Command | Purpose |
|---|---|---|
| 1 | Press Windows + R, type powershell, then press Ctrl + Shift + Enter | Open PowerShell as administrator |
| 2 | Get-PnpDevice -FriendlyName "HID-compliant touch screen" | Confirms the device exists |
| 3 | `Get-PnpDevice -FriendlyName “HID-compliant touch screen” | Disable-PnpDevice -Confirm:$false` |
| 4 | `Get-PnpDevice -FriendlyName “HID-compliant touch screen” | Enable-PnpDevice -Confirm:$false` |
If your system uses a slightly different device name, adjust the text to match what appears in Device Manager.
Disable touch when there are multiple touch devices

Some 2-in-1 laptops and tablets list several touch-related devices. In that case, it’s safer to target any device containing “touch screen” in its name.
Run PowerShell as administrator first, then use these commands:
| Goal | Command | What it does |
|---|---|---|
| List all touch devices | `Get-PnpDevice | Where-Object { $_.FriendlyName -like “touch screen” }` |
| Disable all of them | `Get-PnpDevice | Where-Object { $_.FriendlyName -like “touch screen” } |
| Re-enable all | `Get-PnpDevice | Where-Object { $_.FriendlyName -like “touch screen” } |
Always run the list command first so you know exactly what you’re disabling.
Why does touch sometimes turn itself back on?
If you disable touch and it mysteriously returns after a reboot, one of these is likely responsible:
- Windows Update reinstalling or updating the touch driver
- OEM software restoring default device settings
- Docking/undocking or firmware updates
- IT management tools reapplying policies
What you can do about it
| Approach | What it does | When to use it |
|---|---|---|
| Run a PowerShell script at logon | Automatically disables touch every time you sign in | If updates keep re-enabling touch |
| Use Group Policy / MDM | Deploys the script across multiple PCs | Schools, offices, managed devices |
| Disable touch in BIOS/UEFI | Blocks touch at hardware level | If you never want touch at all |
Not all laptops offer a BIOS touch toggle, but if yours does, it’s the most permanent solution.
Disabling touch on shared or kiosk devices

In classrooms, kiosks, or exam labs, disabling touch improves consistency and prevents accidental input.
Common setups often include:
- App restrictions (AppLocker)
- Locked Start menu layouts
- Limited local accounts
- Assigned-access or kiosk mode
Once touch is disabled at the device level, it’s off for all users, not just one profile.
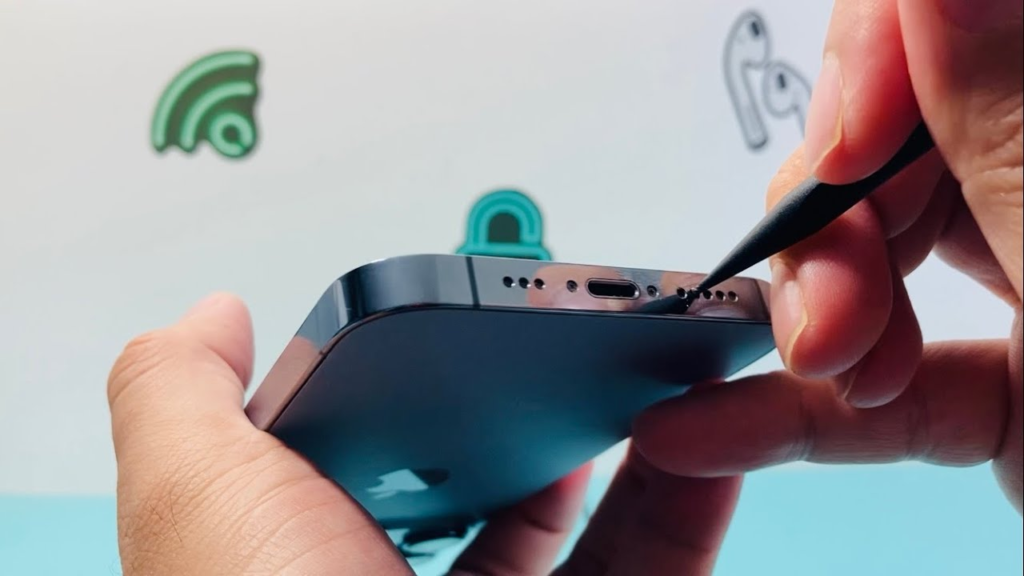
Cleaning your screen without chaos
If you only want to disable touch temporarily to clean your screen, you don’t always need to touch Device Manager.
Easier options:
- Shut down the laptop briefly
- Use your manufacturer’s “Screen Clean” utility (if available)
These avoid permanent system changes.
Final takeaway
Windows 11 doesn’t make touch control obvious — but it is controllable.
Choose your method:
- Device Manager for quick fixes
- PowerShell for repeatable control
- BIOS toggle for permanent disable
Once you understand that touch lives behind the “HID-compliant touch screen” device, the system becomes much more predictable.


'%3e%3cg id='Final-Copy-2_2_' transform='translate(1275.000000, 200.000000)'%3e%3cpath class='st0' d='M7.4,12.8h6.8l3.1-11.6H7.4C4.2,1.2,1.6,3.8,1.6,7S4.2,12.8,7.4,12.8z'/%3e%3c/g%3e%3c/g%3e%3c/g%3e%3cg id='final---dec.11-2020'%3e%3cg id='_x30_208-our-toggle' transform='translate(-1275.000000, -200.000000)'%3e%3cg id='Final-Copy-2' transform='translate(1275.000000, 200.000000)'%3e%3cpath class='st1' d='M22.6,0H7.4c-3.9,0-7,3.1-7,7s3.1,7,7,7h15.2c3.9,0,7-3.1,7-7S26.4,0,22.6,0z M1.6,7c0-3.2,2.6-5.8,5.8-5.8 h9.9l-3.1,11.6H7.4C4.2,12.8,1.6,10.2,1.6,7z'/%3e%3cpath id='x' class='st2' d='M24.6,4c0.2,0.2,0.2,0.6,0,0.8l0,0L22.5,7l2.2,2.2c0.2,0.2,0.2,0.6,0,0.8c-0.2,0.2-0.6,0.2-0.8,0 l0,0l-2.2-2.2L19.5,10c-0.2,0.2-0.6,0.2-0.8,0c-0.2-0.2-0.2-0.6,0-0.8l0,0L20.8,7l-2.2-2.2c-0.2-0.2-0.2-0.6,0-0.8 c0.2-0.2,0.6-0.2,0.8,0l0,0l2.2,2.2L23.8,4C24,3.8,24.4,3.8,24.6,4z'/%3e%3cpath id='y' class='st3' d='M12.7,4.1c0.2,0.2,0.3,0.6,0.1,0.8l0,0L8.6,9.8C8.5,9.9,8.4,10,8.3,10c-0.2,0.1-0.5,0.1-0.7-0.1l0,0 L5.4,7.7c-0.2-0.2-0.2-0.6,0-0.8c0.2-0.2,0.6-0.2,0.8,0l0,0L8,8.6l3.8-4.5C12,3.9,12.4,3.9,12.7,4.1z'/%3e%3c/g%3e%3c/g%3e%3c/g%3e%3c/g%3e%3c/svg%3e)

0 comments